How to make a checkerboard cake!
This was my first attempt at making a checkerboard cake and it's surprisingly easy. A good trade of a little extra effort to have a striking look on the inside of the cake.
I found a really easy and tasty recipe on this site (site link) which had all the measurements in grams and millilitres (my favourite). There were only 5 eggs in the fridge so scaled back the other ingredients accordingly. So much easier when recipes use grams and ml's!
--------------------------------------------------------------------
Below is some of the content of that site just in case the link doesn't work in the future:
- 3 cups (450g) self-raising flour, sifted
- 1 cup (150) plain flour, sifted
- 2 2/3 cups (590g) caster sugar
- 300g butter, melted
- 1 ¾ cups (440mL) milk
- 6 eggs, beaten lightly
- 2 tsp vanilla bean paste
- ½ cup (50g) Baking Cocoa, sifted
- Preheat oven to 160°C/ 140°C fan forced. Grease and line four 18cm round cake pans with baking paper.
- Combine flours, sugar, butter, milk and eggs in a large mixing bowl. Using an electric beater; beat on low speed for 2 minutes or until just combined. Increase speed to high and beat for 3 minutes or until the mixture is thick and pale.
- Evenly divide cake mixture into two bowls; add vanilla bean paste to one bowl and mix well. Add Baking Cocoa to remaining bowl, mix well. Divide vanilla mixture among two prepared pans, and divide chocolate mixture among remaining two prepared pans; bake 45 minutes or until a skewer inserted into the centre comes out clean. Cool on a wire rack. Using a serrated knife, level cake tops.
Here are the 4 cakes. I forgot the add a baking belt (see my baking belt tip) to the last cake so you can see how the top right cake is a bit funny.
Make up a template so that the width of the concentric circles leaves roughly 5 evenly sized patches/strips/paths/etc across the diameter of the cake.
Carefully cut along the inner and outer circles of the template.
You should end up with a number of circles like this. Or as my kids call them - Monster Eyes.
Insert the circles into the cakes so that the colour alternates as follows:
(I forgot to place icing between the concentric circles which made it tricky to cut the cake without it falling to pieces).
Stack up the cakes to find the best fit being careful to alternate the colour of the cakes. Having a chocolate, vanilla, vanilla, chocolate cake was the best combination for a level cake but the colours wouldn't work out!
Ice up the layers.
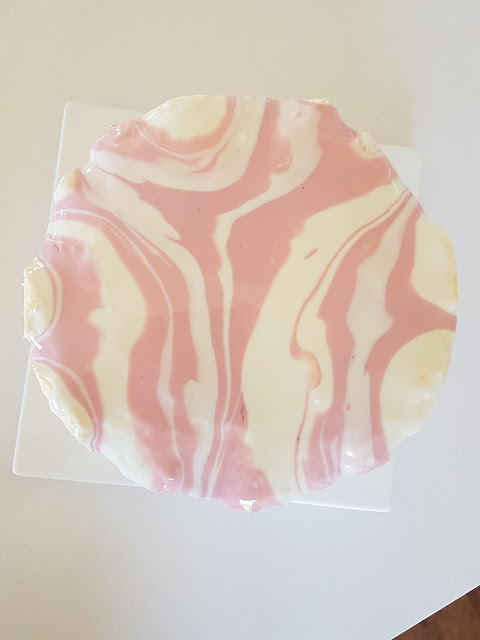
Decoration time. I butter creamed up the outside of the cake then used some of my left over mirror glaze to tidy up the cake for fun.
I was lazy and used a blunt knife so the cuts weren't clean but still pretty happy with my first attempt at a checkerboard cake :)


Comments
Post a Comment